A Guide for Photographers
Thanks for visiting!
We’ve created this page for the purpose of enhancing the results from your upcoming shoot with one of our valued clients.
We appreciate that there are limitations within a mere 60-minute location shoot. These guidelines are offered in the spirit of collaboration and to share our experience in working with hundreds of professional practices for over a decade.
Since a member of the Perfect Patients team cannot be there with you, here are some suggestions that we find help make a successful shoot.
![]()
Before the Session
Download and print a sufficient number of model releases. We will be expecting releases from everyone who appears on camera, other than the owner of the practice.
Confirm that there will be an adequate number of “extras” to play the role of being a patient. Optimally these individuals should represent the demographics of the doctor’s ideal patient.
In fact, without patients, the shoot should be rescheduled. Our brand does not support the Architectural-Digest-Neutron-Bomb-empty-reception-room look. Without people, there is little energy and a glaring lack of reassurance that prospective patients desire when evaluating the practice online.
If convenient, visiting the practice before the shoot can be helpful. Use this visit to confirm the location, notice photo opportunities and become aware of any limitations that might require additional light, a wide-angle lens, etc.
During the Session
As you compose the shots, try to imagine what the images will communicate to someone who has never been to the practice, who may be wary and need reassurance. Here are some general guidelines:
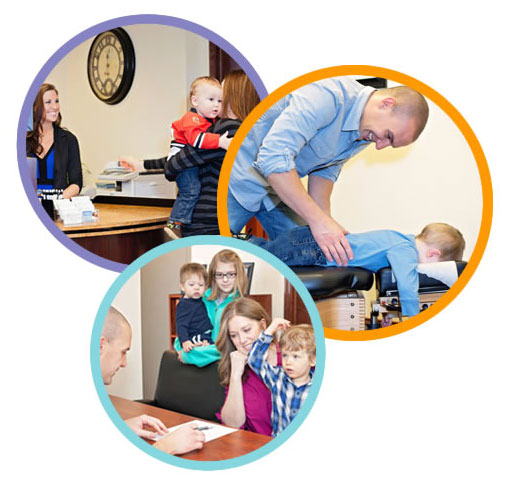
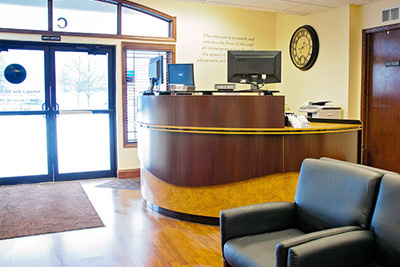
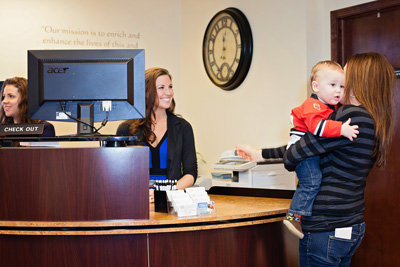
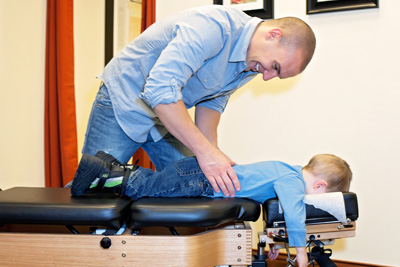
As possible, make sure every shot has a person in it. See Example »
If a patient is depicted, their expression should be positive – avoid shots where a patient looks uncomfortable.
When there are two people they should doing something. If necessary layer one behind the other to compress the space between them, adding energy to the shot.
When shooting individual team portraits, make sure the camera is slightly above the person’s eyes so they are looking up into the camera.
When shooting individuals or team shots, be careful not to amputate arms or shoulders as it limits how our designers are able to use the shot in the website design.
When shooting an entire office team, many people don’t know what to do with their hands! While it often feels unnatural, simply allowing the hands to hang naturally at the side is best.
When shooting exteriors they should never be straight on, but from an angle.
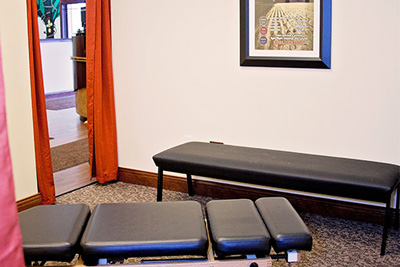
Be mindful of the background — reflections, electrical outlets, wires, plants growing out of people’s heads, etc. Avoid clutter. This can become distracting and communicate a sense of disorganization when caught in two dimensions. The key is to walk the line between “busy” and “sterile.”
When in doubt, go wide — we’ll crop in later. Often times we use wide images in our header designs, so having some options in a wide aspect ratio is helpful.
Finally, remember people are more important than equipment!
Examples:




Thank You
We appreciate your talent and your willingness to positively represent Perfect Patients in our absence. We hope you’ll have fun during our shoot and that our client will look back at this experience as a positive one and the beginning of a long-term relationship.
